The Import Categories Tool is a valuable tool for those managing a BigCommerce store. With this tool, users have the convenience of editing and then importing multiple categories by utilizing a CSV file. This efficient method can save significant time and effort, streamlining the process of updating or adding new categories to the store’s inventory.
We suggest using our Export Categories Tool if you plan on editing existing categories.
Article Contents
This support article contains several sections which can be accessed quickly by clicking the appropriate link below:
- Upload Your CSV File to Your Store Tools
- Deleting Contents of Fields
- Supported Fields
- Additional Tool Features
- Available Support Videos
Upload Your CSV File to Your Store Tools
We have a template file available to download by clicking here.
To begin, if your BigCommerce store has enabled Multi-Storefront enabled, you’ll need to select your site from the Select Store Front dropdown.
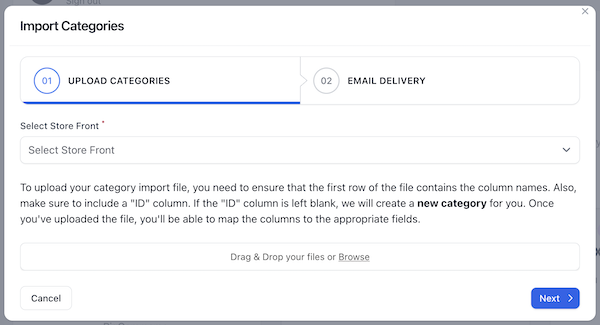
If you do not have Multi-Storefront, this option will not appear.
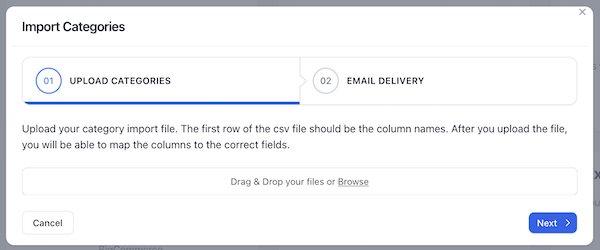
Drag and drop, or, use the Browse link to select the file from your computer. The file you are importing must have a header row with column names. We recommend using the Export Categories tool to download your store’s categories, edit them offline, and upload them back to your store using this tool.
Please make sure the file you’re attempting to import is a .csv file.
Once selected, click Next.
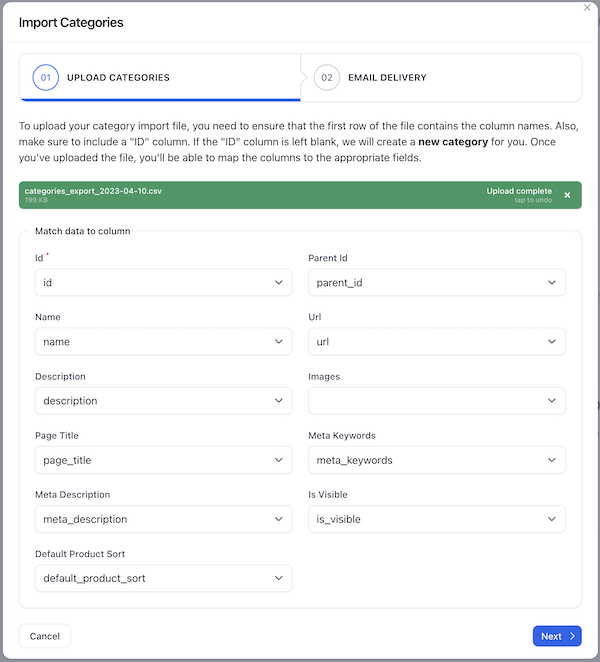
Map the columns in your .csv file to the appropriate fields in your store by using the drop-downs. Once complete, click Next.
By default, Your Store Tools will email you when your import is complete. If you choose to receive this notification, verify your email address is correct before clicking Submit.
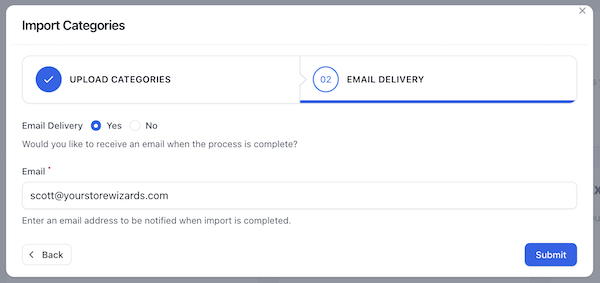
Once your import is complete, you will receive a notification either by email or in the Your Store Tools Notification Center, which is the “bell” in the upper right corner.
Supported Fields
The following BigCommerce fields are supported by this tool and can be used as field names in your import file template:
- parent_id
- name
- description
- page_title
- meta_keywords
- meta_description
- search_keywords
- sort_order
- url
- is_visible
- default_product_sort
Deleting Contents of Fields
If you want to delete the contents of specific fields, such as the description, or meta_keywords simply put the word “delete” in your CSV file as the value.

When the file is uploaded, the contents of the field(s) will be blank.
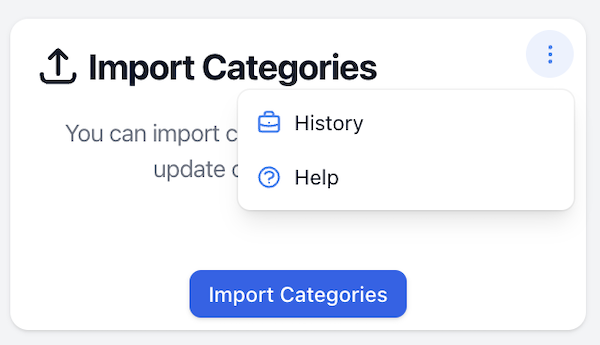
Additional Tool Features
To view the history of this tool’s use, click the hamburger menu in the upper right corner of the tool’s tile and select History.
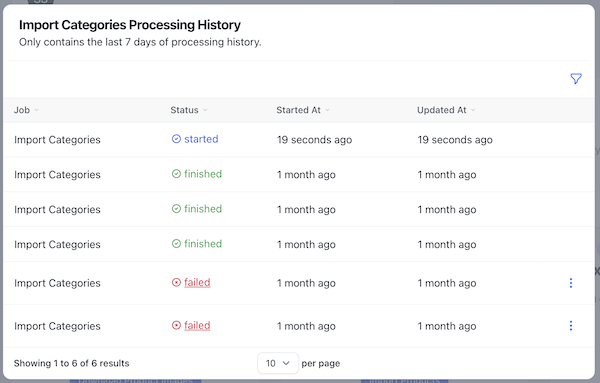
This quick view allows you to:
- See whether the job was successfully completed or not
- Process start and end time
- Retry a specific job that failed
You can also filter results by job status.
Available Support Videos
Did you find an error or need additional support? Contact us at support@yourstorewizards.com to let us know!